
Based on upstream documentation. These steps have not been independently tested in the desktop app; menu labels and behavior may differ by release.
Step by step
Start with a comparison
Open the Color adjustment study file or a copy of your own photo. Keep an unchanged reference so you can judge the effect, especially in neutral areas and highlights.
Prefer an adjustment layer
Add an adjustment layer such as Levels, Curves, or Hue/Saturation if available in your release. This keeps the original content separate from the adjustment.
Move one control at a time
Make a small change, then toggle the adjustment layer. Watch for clipped highlights, blocked shadows, and unnatural skin or neutral colors. Stronger saturation is not always a better result.
Test a LUT as a starting point
The original .cube files below are optional color transforms, not a promise of a particular photographic look. Upstream documents Color Lookup support. App testing for these individual files is pending; compare at modest strength and keep a fallback without the LUT.
Files for this workflow
 SVG
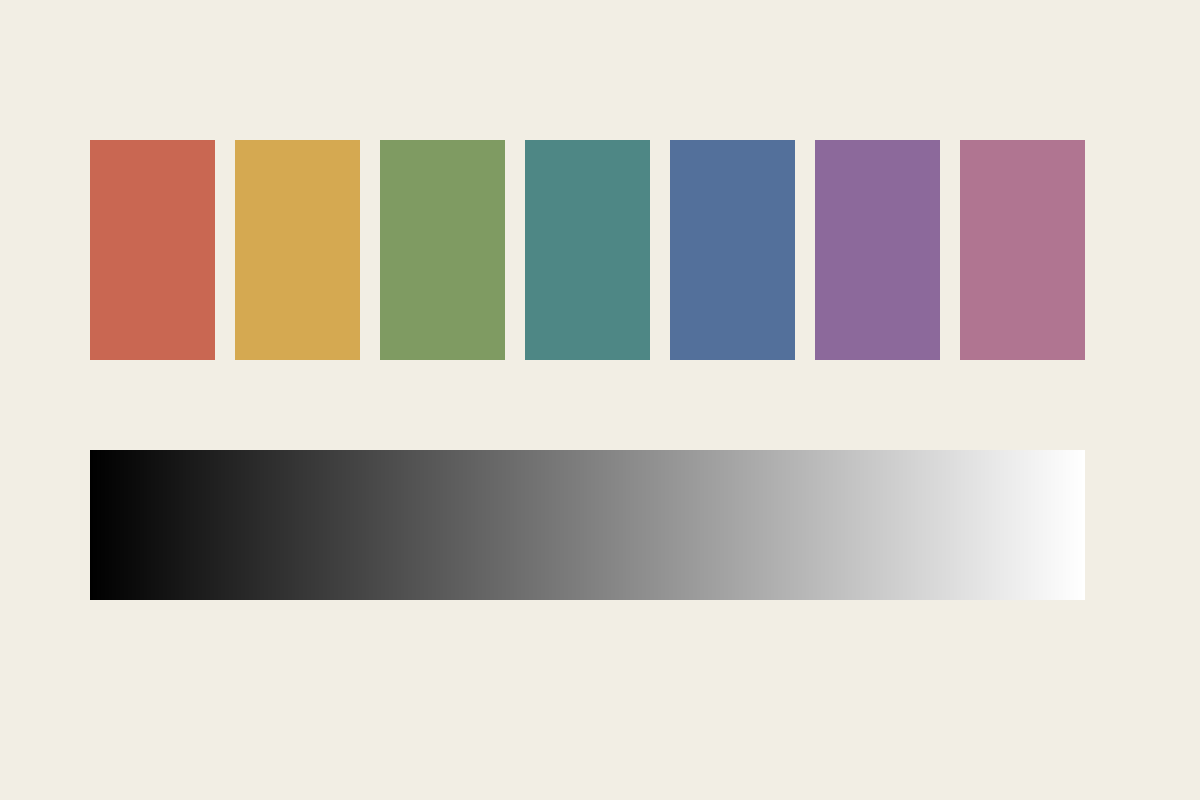
SVGColor adjustment study
Color bands and gradients for comparing adjustment results.
 CUBE
CUBEGentle warm LUT
A subtle 17-point color transform for an understated warm grade.
 CUBE
CUBESoft matte LUT
Lifted shadows and softer highlights for a gentle starting point.
Sources and further reading
PhotoCraft is in early alpha. Keep original files and test a copy before relying on it for important work.
Suggest a correction →